CUSTOM PRINTING / B2B BUYING GUIDE
Custom paper bag printing can turn a simple takeaway bag into a consistent brand touchpoint. But a good-looking logo on screen is not yet a production-ready file. Bag dimensions, folds, artwork positioning, print colors and proof approval all need to work together before you commit to a wholesale order.
This guide is for café owners, bakery brands, takeaway operators and packaging distributors preparing their first printed paper bag order—or trying to avoid a repeat of costly artwork revisions. It focuses on the files and decisions that make quotation, sampling and production reviews more efficient.
Start with your preferred bag type and dimensions, intended contents, order quantity, destination, vector logo (AI, EPS or vector PDF if available), brand color references and a clear description of where the design should appear. Request the correct dieline and confirm bleed, safe zones, print method and proofing with your supplier before treating the artwork as final.
1. Why Custom Paper Bag Printing Begins with the Bag Specification
Imagine a bakery choosing a printed bag only from a flat digital mockup. The logo may look well centered in the artwork file, but after the bottom is folded, the visible panel becomes shorter. On another bag, the side gusset may turn part of a pattern out of view. These issues are structural, not just graphic.
Before any designer starts final artwork, agree on the product details:
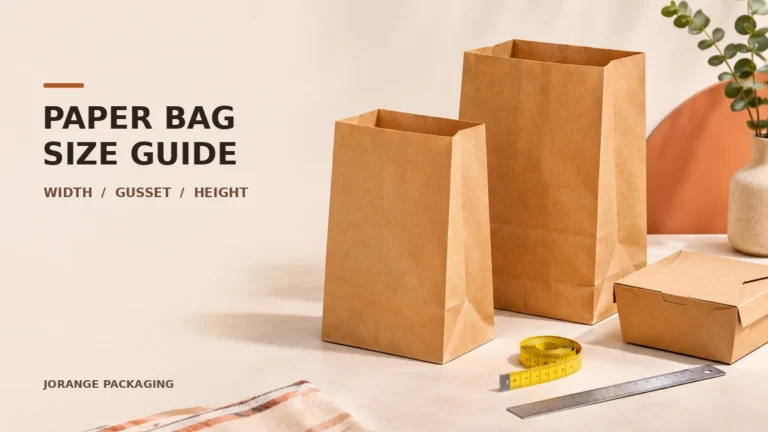
- Bag structure: for example, an open-top, square-bottom bag versus a handled retail carrier. These are not interchangeable formats.
- Finished size: usually expressed as width × depth or side gusset × height. Ask how the supplier measures the finished bag.
- Intended food and handling: dry baked goods, boxed meals or oil-prone products can require different paper options.
- Paper appearance: natural kraft and white paper produce visibly different results with the same ink file.
- Print area: a front-panel logo, side print or wider pattern may have different feasibility and cost implications.
Jorange Packaging’s paper bag range discusses kraft square-bottom formats and selected custom-printing options. Confirm the exact bag style, material and printable area for your project rather than assuming every option applies to every bag.
2. Custom Paper Bag Printing: Which Artwork File Is Best?
The safest starting point for logos and fine lines is often a vector file. Unlike a small image copied from a website, vector artwork can be scaled without becoming pixelated. For photographs, effective resolution at final printed size matters.
| File type | Best use | What to check |
|---|---|---|
| AI / EPS | Editable vector logos, illustrations and layout elements | Include linked assets and a visual reference; ask whether fonts should be outlined. |
| Vector PDF | Sharing a print-oriented layout | Confirm the correct dieline, layers, embedded images and font handling. |
| PSD / TIFF | Photographic or raster artwork | Check effective image resolution at the final print size; retain a layered master. |
| PNG / JPG | Initial reference, simple mockups or some raster print tasks | A low-resolution screenshot is not a substitute for approved production artwork. |
If you only have a PNG logo, send it with the inquiry and explain that it is a reference file. Do not assume a supplier can reproduce fine details perfectly from a low-resolution source. You can discuss artwork preparation and feasibility before paying for tooling or approving an order.
3. Use the Correct Dieline, Bleed and Safe Area
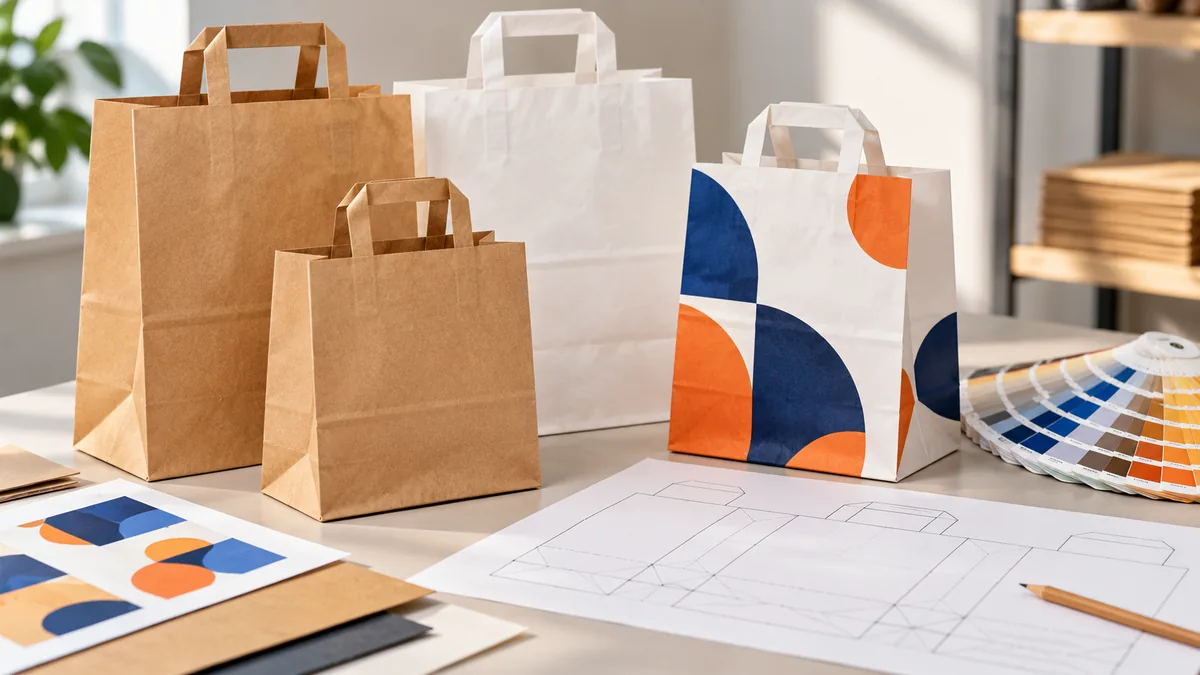
A dieline is the flattened production layout that identifies where a bag is cut, folded or joined. A design should be placed on the dieline for the specific approved bag size and construction. A dieline from a different product or an old revision can cause even a visually attractive design to print in the wrong position.
Understand three different boundaries
- Cut / trim line: the edge of the finished printed component.
- Bleed: extra background color or imagery extending beyond the trim line, used where required to reduce unwanted blank edges after cutting.
- Safe area: the zone where important logo details, small text and critical graphics should remain clear of cutting, folding and joining areas.
Many commercial-print workflows use approximately 3 mm (1/8 inch) bleed and similarly sized or larger safe margins as a starting point. These are illustrative conventions, not universal paper bag specifications. Actual requirements depend on bag construction and printing equipment: use the dimensions stated on the approved supplier dieline.
4. CMYK, Pantone and Kraft Paper: Get Color Expectations Right
Colors seen on a phone are generated by screen light. Printed packaging uses ink interacting with paper. A bright orange in an RGB screen file may shift when reproduced with CMYK process inks, and uncoated brown kraft can affect contrast differently from white paper.
For custom paper bag printing, confirm these decisions before approving the artwork:
- CMYK or spot color? Ask which printing process applies to your selected bag and quantity. Supply Pantone references if a specific brand shade matters, but do not assume every process can match every spot color.
- Paper color and texture: approve artwork against the actual kraft or white paper option; the same print file can look different on each.
- Ink coverage: large solid areas, narrow text and fine reversed details may need special prepress review.
- Physical color reference: for critical colors, discuss a relevant printed sample or approved proof, not only a phone screenshot.
Adobe explains the role of CMYK color separations in commercial printing, and why proofing is important for reproducing design intent. For your order, let the selected print process and supplier’s specifications determine final export settings.
5. Pay Attention to Fonts, QR Codes and Small Details
Small text can appear readable at 300% zoom and still be difficult to print or read on a folded bag. Keep a legible master file, and either embed fonts or create an outlined copy if your supplier requests one. Do not outline the only editable copy of your design.
If your artwork contains a QR code, test it at the proposed printed size with different phones, account for adequate white space around it and keep it away from folds or seams. If your packaging requires a retail barcode, follow the applicable barcode specifications and verify the printed symbol. A mockup that scans on a monitor is not proof that every printed piece will scan.
Finally, check all spelling, website addresses, social handles, product names and legally required information with your own compliance adviser for the destination market. The packaging supplier can review print positioning; the brand owner should approve the accuracy of its content.
6. How to Approve a Paper Bag Print Proof
A digital proof helps confirm artwork placement, but it should not automatically be treated as proof of final material strength, grease resistance, ink behavior or finished size. Where necessary, request a physical sample representing the selected construction and printing.
- Lock the approved bag specification. Confirm size, shape, paper grade, intended contents and the quoted print process.
- Check the latest dieline revision. Verify the front, back, side, bottom, folds, seams and non-printable areas.
- Inspect the final artwork at actual size. Check logo proportions, small copy, safe areas, bleed and image resolution.
- Review printed color expectations. Confirm CMYK or spot references, substrate and whether a physical color proof is needed.
- Approve operational details. If relevant, check opening, folding, filling, stacking and any intended contact conditions using representative samples.
- Sign off on a versioned proof. Record the file name, revision, quantity, specifications and written approval date. A later artwork change should trigger a fresh review.
7. What Makes Artwork Approval More Expensive or Slower?
| Common issue | Potential consequence | Better approach |
|---|---|---|
| Design built without an approved dieline | Resizing or repositioning artwork late | Confirm structure and dimensions first. |
| Screenshot instead of vector logo | Soft edges and extra artwork work | Send editable vector artwork if available. |
| RGB artwork with no color references | Unexpected print appearance | Discuss print process and color targets. |
| Logo placed over fold or glue area | Part of the design becomes hidden | Use the supplier’s safe-area guidance. |
| Late changes after proof approval | Possible reproofing, delays or extra cost | Use version-controlled final approval. |
| Unclear bag size or contents | Incorrect product or material recommendation | Describe the intended application and packed item. |
8. Wholesale RFQ Checklist for Custom Printed Paper Bags
Once the design basics are clear, a concise request for quotation (RFQ) helps a supplier assess the right combination of bag construction, material and artwork. Avoid sending only “How much for 10,000 bags?” because price depends on much more than quantity.
- Business / brand and destination country
- Bag type: open-top square-bottom, or another clearly specified structure
- Finished size: width × depth / gusset × height, with units
- Intended contents, food-contact conditions and expected handling
- Preferred paper color, grade or weight, if known
- Print location, number of colors and attached artwork
- Estimated quantity per design, and expected repeat frequency
- Sample or proof requirements, target delivery date and destination
Do not rely on a universal MOQ or lead-time promise: both can vary with the bag type, material, print coverage, artwork revision and production arrangement. For Jorange Packaging, use the custom paper bag product page to review available options, then contact the team for a quotation tailored to your requirements.
9. FAQs: Custom Paper Bag Printing
What file format is best for custom paper bag printing?
A vector AI, EPS or suitable vector PDF is usually a strong starting point for logos and line art. Photo-based designs may require sufficiently high-resolution images. Confirm the actual file requirements with your supplier.
Can I print a logo on kraft paper bags?
Custom printing can be reviewed for selected kraft paper bag specifications. Ink color and coverage may look different on brown kraft compared with white paper, so approve an appropriate proof.
How much bleed do I need for paper bag artwork?
Some print workflows use about 3 mm (1/8 inch) as a starting point. Paper bag construction varies, so the approved dieline and printer’s production instructions take priority over a generic number.
What if I only have my logo as a PNG?
Send it as an initial reference, preferably at the highest available resolution. Ask whether an editable vector version or artwork reconstruction is needed before printing.
Will a digital proof show the exact final color?
Not necessarily. Screens vary, and the final paper and print method influence color. For important brand colors, discuss a relevant print sample or physical proof.
Does a printed paper bag automatically meet food-contact rules?
No. Suitability depends on the finished materials, coatings, inks, intended contact and destination market. Request applicable documentation for the selected specification and use.
What details should I send before ordering wholesale bags?
Provide bag type, dimensions, paper preference, contents, printing requirements, estimated order quantity, destination and logo artwork. Ask about sample approval, MOQ and the production schedule for that exact combination.
Ready to Review Your Paper Bag Artwork?
Send Jorange Packaging your logo, proposed bag size, expected quantity and destination. We can discuss suitable paper bag specifications, custom-printing feasibility and the next steps for your wholesale inquiry.
Request a Custom QuoteExplore Paper BagsThis is a general buyer’s guide, not a universal print-production specification or food-contact certification. Confirm project-specific tolerances, available materials, proofing and compliance requirements with the responsible supplier and market authorities.